


Big Booty Betty went to the spa for a little light 'dermabrasion'.
BEFORE:

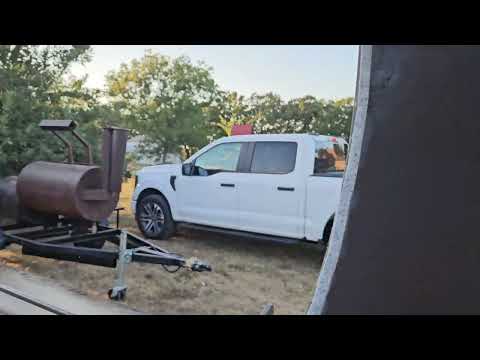
And AFTER:


I told him to just lightly blast her, just to get the paint off. Buyer wanted to leave the mill scale, so that's what we did. Much faster, easier and cheaper, took no time at all to blast the paint off. Gonna finish her up, needs therms, probe ports, D-rings for tie down, aaaaaaaannnnnddd... oh yeah, some gasket on the doors.
Then I'll fire her up and oil her down. I think it's gonna look awesome with the mill scale and the oil.
Stay tuned!
BEFORE:
And AFTER:
I told him to just lightly blast her, just to get the paint off. Buyer wanted to leave the mill scale, so that's what we did. Much faster, easier and cheaper, took no time at all to blast the paint off. Gonna finish her up, needs therms, probe ports, D-rings for tie down, aaaaaaaannnnnddd... oh yeah, some gasket on the doors.
Then I'll fire her up and oil her down. I think it's gonna look awesome with the mill scale and the oil.
Stay tuned!


Comment